Shooting cinematic video with iPhone 11 Pro and the DJI Osmo Mobile 3
A gimbal alone won’t make your video amazing. You’ll need technique as well.

You don't need an expensive rig to shoot cinematic video. All you need is a smartphone and a gimbal, and I'm going to show you how.
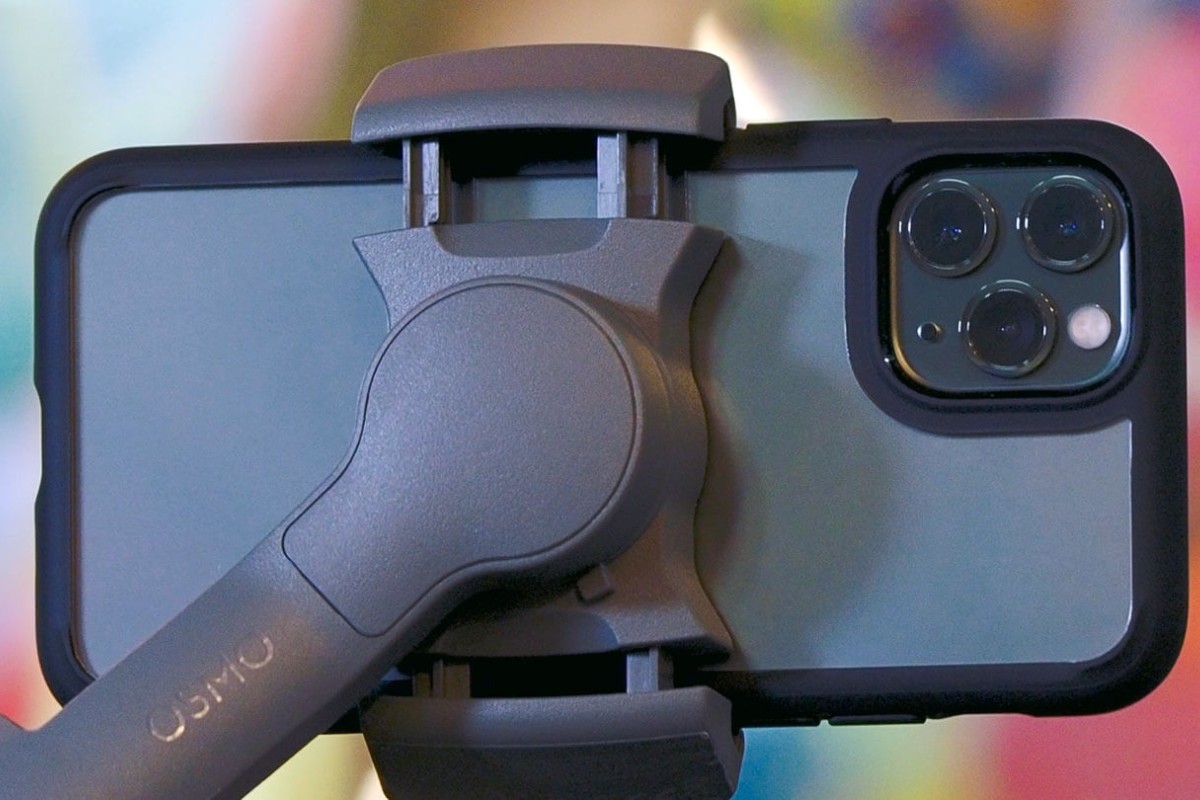
The goal of this article and accompanying video is to show you some shooting techniques and important gimbal moves that could help you capture some awesome cinematic footage. I used an iPhone 11 Pro and a DJI Osmo Mobile 3.
But simply putting your smartphone on a gimbal won’t magically turn you into a master videographer. That’s why you should check out the video above. In it, I go over a few gimbal techniques and practices that will help you shoot better and more professional video.

Gimbals are useful for producing stabilized video, but capturing cinematic video requires using it correctly. A gimbal provides a lot of versatility in the types of shots you can get. When you know the techniques, you’ll be ready to maximize this particular piece of equipment for your smartphone.
WALK LIKE A NINJA
No one likes wavy footage. To avoid this “bumpy” or “swimming” motion in your video, you have to watch how you walk. It’s a common effect when shooting and walking at a normal pace, causing your arms move up and down too much.

The solution to this problem is to bend your knees and walk heel-to-toe with even footsteps, just like a ninja. I also keep my arms close to my body to prevent shakes. The more you practice this walking style, the more steady your gimbal shots will get.
MOVING FORWARD AND BACKWARD
This is my most frequently used move when operating a gimbal. Moving forward and backward allows you to do push-in and push-out shots. These movements can help emphasize your talent -- the person or people in your scene -- and the environment.

You can follow your talent from behind or from the front while shooting at eye level.
I also put my gimbal in tilt-locked mode, allowing it to follow my pan movement but not my tilt. This prevents the gimbal from moving up and down and affecting the motion of the footage.

Shooting closer will help you to achieve better-looking shots. It’s best to use the ultra wide lens on the smartphone to get a more dramatic framing. One useful tip is to put the subject in the center of the frame when you’re using the ultra wide angle lens to avoid distortion on the sides and corners.
PARALLAX MOTION
Parallax motion is another trick I like to do to create cinematic shots. There are multiple ways to do it, but the easiest way is just by walking in a semicircle around a subject. This involves having your talent in the center of your shot while you spin around them.

You can create a parallax effect when you spin around the talent, using a foreground object to give your shot more depth. You can also use the 2x zoom lens to focus on the talent’s emotions and body language while you spin around.

I might also move parallel to a moving talent, walking from left to right or the other way around. When doing this, point the camera perpendicular to the direction you’re walking to capture a side view of the person you’re filming. You might need to shoot at 60 frames per second and slow the footage down in editing to get better cinematic motion.
For the lens, this shot will work with any focal length, from ultra wide to 2x zoom.
LOW-ANGLE SHOT
When using a gimbal, you might be tempted to always shoot at eye level, but changing the perspective can make for some unique and interesting shots. I like shooting low to the ground while pointing up at the subject.

However, to do this, you have to hold the Osmo sideways. It’s not as steady when used this way, so be careful.

When doing the low-angle shot, you can either focus on a portion of your subject or widen the shot and have the entire subject in the frame. The lower you go, the better your shots, giving your video a whole different look.
CIRCLE THE TARGET
Rotating around the talent is a good way to create some epic shots and highlight both the talent and the environment. Before you do an orbic movement, you need to have the gimbal in the tilt-locked mode. Also be careful of your speed and the way you hold the gimbal.

The key is keeping your distance from the talent and walking in a circle around them. When you are rotating around the talent, you need to continually point the camera at the person in the center.
In terms of lens choice, it’s best to use either the ultra wide lens for a better sense of scale or the 2x zoom to make the background move faster.
If you want to go full Michael Bay, ask your talent to turn slightly in the opposite direction for a more dramatic shot. And don’t be afraid to try this move multiple times to get the speed just right. You don’t want to go too fast and make viewers dizzy.
THE CRANE SHOT
With a gimbal, you can get rising and falling shots just by bending over or squatting. This type of shot can be done by starting at a person’s feet and moving up to the head. It’s a kind of person reveal or an object reveal, starting on one detail and moving to reveal more.

To do this, you need to have the gimbal in tilt-locked mode, keeping the focus on the subject. Then you make the move from bottom to top. In my case, I prop my body down in a squat, then slowly stand up to get the crane shot.

TILTING UP AND DOWN
To get more interesting establishing shots, I use the gimbal’s follow mode to reveal a subject by tilting the gimbal up or down. This movement can reveal both the talent and the environment in a very cinematic way.
The follow mode will work whether the talent is standing still or moving. Start the shot by looking at the sky, and then slowly tilt down on the gimbal to reveal your subject in the frame.

You can do the same by looking down at the ground, and then slowly tilting up to reveal the subject. This is more challenging than starting from the top, so practice more to get the best looking shot you can.

When this tilting movement is combined with another camera movement, like walking toward your talent or craning up or down, you will get surprisingly good results.
DRONE SHOT… WITHOUT A DRONE
It’s possible to imitate drone shots using a gimbal by attaching a selfie stick to the bottom. This will effectively extend gimbal’s length, allowing you to shoot from high above.

You start by holding the combo as steady as possible, lift it high in the air and move it down to bring your subject into frame. Or you start down low and sweep up high to reveal a larger scene.

Remember to put the gimbal in tilt-locked mode to prevent it from tilting up and down. I suggest using the ultra wide lens to give the audience a wider perspective on the scene from above.
DO IT AGAIN
When shooting with a gimbal, I often get as much coverage as possible by shooting multiple times. It’s best to get as many shots as you can from several different angles. When shooting the talent while walking, I ask the person to walk the same path multiple times so I can shoot from different angles, following from both in front and behind.

When following the talent, try to keep the same distance throughout the entire shot. You can use different lenses on the phone to get ultra wide, medium and tight shots.

So now you know my go-to movements to create cinematic video with just a gimbal and smartphone. You can mix and match these moves to create different shots. If you are having difficulty getting smooth shots, remember that it takes time and effort to master the right pace and walking movements. The more you practice, the better quality video you’ll be able to produce with your phone.
Now go forth and use your newfound cinematic powers!
For more insights into China tech, sign up for our tech newsletters, subscribe to our award-winning Inside China Tech podcast, and download the comprehensive 2019 China Internet Report. Also roam China Tech City, an award-winning interactive digital map at our sister site Abacus.